Client portal
Customer portals are special app projects that are available as a web app in a browser. A portal doesn't serve the employees of your organization - it serves your customers (defined in the contact entity). Your contacts can log in to your portal and access limited organization data that's relevant for them.

Availability
Customer portals are available on the Resco Cloud backend for organizations of the type Resco Inspections or Resco Field Service.
Creating a customer portal
- Do one of the following:
- In the Manager's experience landing page, click Create Portal.
If you don't have this button in your manager's project, simply use the option below. - In Woodford, click New to create a new app project, then set Type to Portal User.
- In the Manager's experience landing page, click Create Portal.
- Select dark or light mode for your portal, then click Next.
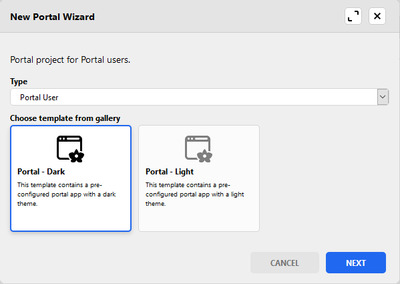
- Enter a name of the portal and click Create.
- Optionally, configure the portal:
- Customize the portal colors to match the theme of your company.
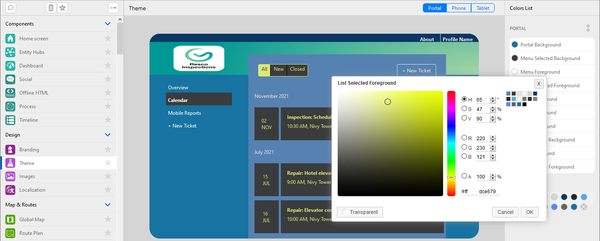
- Configure the home screen, reorder, add, or remove menu items.
- Do all kinds of additional configuration as usual for app projects.
- Customize the portal colors to match the theme of your company.
- Save everything and publish the portal project.


Enabling portal access for contacts
Before your customers can access the portal that you prepared for them, you have to grant them access. You have two options for how to do this: using the Manager's Experience, or using the Admin Console.
Using the Manager's Experience
- Go to Contacts and edit the contact who needs portal access.
- Enter a valid email address and click Enable Portal Access, then click Save.
Your contact receives an email with login instructions.

| Note | You can also use multiselection: click and hold on a contact in the list to enable multiselection, then select the contacts and click Enable Portal Access. |
Using the Admin Console
- Start the Admin Console and go to Data > Manage Data.
- Click the Contact entity and go to the contact for who you want to enable portal access.
- Verify that the email address is correctly set up, check Portal Access, then click Save.
Your contact receives an email with login instructions.
